
So I'm sure you noticed that if you travel into my shop, it's like a confetti explosion. When photographing my artwork and jewellery, I knew I wanted my shop to be really fun and exciting. I wanted it to be a really bright, positive and joyful place. If I had a physical store, I would want it to be a place everyone would want to go to, just for it's upbeat personality and quirky kindness. Yes, my shop would be kind. I would host a tonne of events, because I am obsessed with themes, so you would expect loads of parties and awesome decorations. There's nothing I like more than making my own decorations. So I translated that into my online Etsy shop, by filling my photos with bursts of confetti and huge, colourful atomic shapes which I made myself. Everything is handmade, and that's how I like it. I wanted everything to be very homemade-looking, crafty and slightly off-kilter all the while remaining true to my overall theme of vintage love of course.
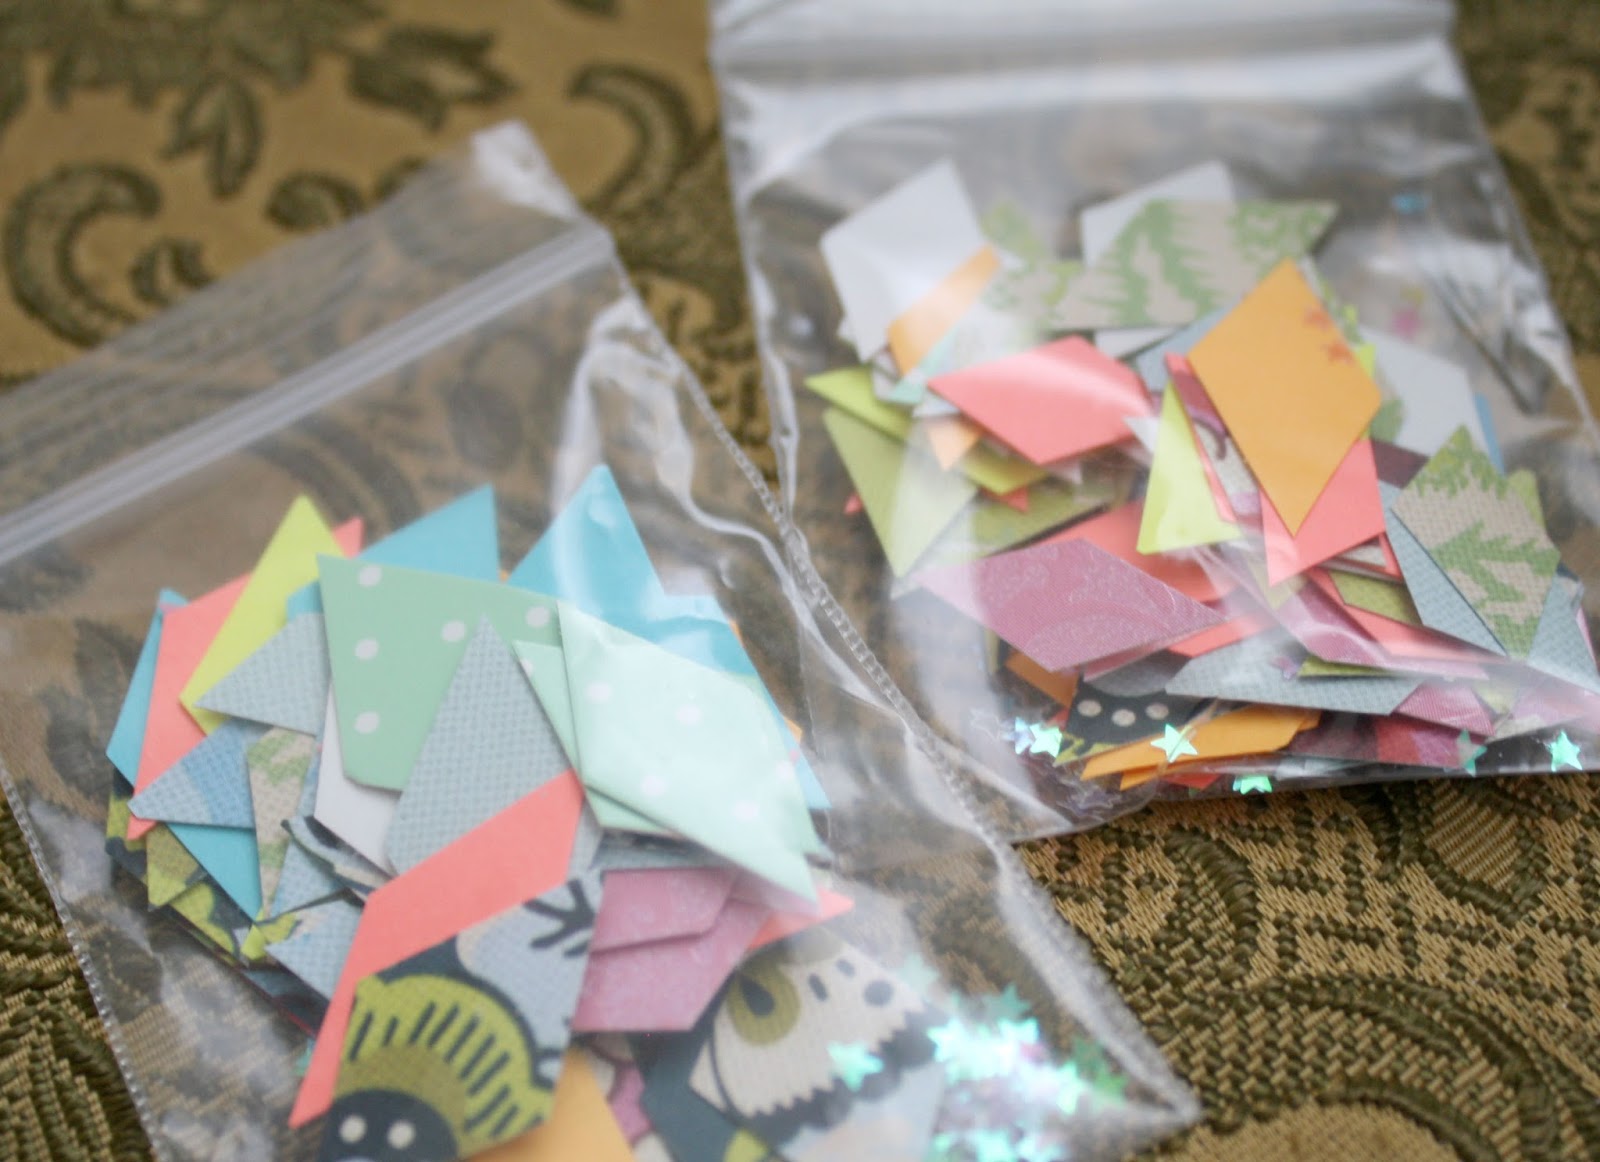
But let's get on to the really good stuff here. after a while of just making confetti for photo props, I decided to venture out and make my own celebratory confetti sachets for a gift with purchase with my Graduation Earring Gift Sets (still available at the moment!) I loved them so much, I decided to make more! Here are some of them, not fully packaged and still in their beginning stages.

I said this was a DIY, and it still is, my lovelies! I'm going to tell you how I make all this fancy confetti. You need a hole puncher (Preferably one that is not stiff, because you have to punch hundreds of holes. Your hand will be so tired!) and lots of different coloured, patterned and textured paper. Then I sort which colours go together the best, and hole-punch away! I keep a little bowl in my lap, so it all falls in there and stays clean. Once I put it in a container (You can use a little bottle, jar or plastic bag like I did,) I pour in a small amount of glitter to match and make it just that more magical. Do it slow, so it all doesn't dump out and you end up with more glitter than confetti! Yikes! I also hand cut little diamond in mine to correspond with my atomic theme, but any other shape can work. Little hearts are the cutest, and if you don't want to painstakingly cut all those by hand, you don't have to. You can buy paper punchers in all sorts of shapes including hearts at almost any craft store. I'll warn you now, it's not the easiest thing to do. You need a lot of patience, but handmade confetti is so worth the time and effort. It's so beautiful. You can really tell when it's made my hand and when it's manufactured. Totally not the same at all! Plus, you're recycling and reusing your old paper! I keep any packaging, papers, or anything else with a great pattern and hang onto it in a paper drawer until I find cool crafts to do. Sometimes the best things come from scraps you might've otherwise thrown away.


As I said before, these pretty little things are not fully packaged yet. You can expect severely adorable packaging. At the moment they are in production for farmers markets which I will announce later for this summer. I thought it would be a cute little extra for my customers to purchase that really sums up my shop as a whole. I am also thinking about adding them to the shop at the end of the summer. I will have them available to purchase as singles and also as custom orders in groupings of your choice. Pretty fancy, right? I love the pale-coloured confetti. It reminds me of a garden wedding. I think I'll have to make some in the future when my boyfriend and I decide to get married! So pretty. I do not mind making this confetti at all. It's fun!
I'm so happy to share my process with you all!
Have a great day!
Marissa xo
CharmingShop
No comments:
Post a Comment